

Building a website from scratch can be daunting. But what if you could create a website, connect it to a custom page builder, and start building pages in under 10 minutes…all without writing a single line of code yourself?
Sounds too good to be true, right? It’s not!
At Prismic, we believe building websites should be simple and intuitive. This is why we’ve focused on integrating features that simplify the process of creating websites and managing content.
In this tutorial, you'll learn how to:
- Set up a Next.js site with Prismic
- Use Slice Machine, Prismic’s developer tool, to create components
- Create slices (reusable page sections) using pre-built and pre-styled templates
You’ll then be able to push these slices to a custom page builder and start building customizable pages easily, just like you’re assembling a slide deck!
By the end, you'll have a customizable Next.js site running locally, complete with content editable in Prismic. So let's get started!
Project setup
You can create a new Next.js website with Prismic in just a few simple steps:
- Log in to Prismic or create a new account.
- Create a new Prismic repository using the Next.js option.
- Spot the ”Minimal starter” and click Select.
- Give your repository a name, select the free plan, and click Create repository.
Install Slice Machine and run your Next.js project
Now that we have a Prismic repository, we can click Get started with Slice Machine.
What is Slice Machine?
Slice Machine is Prismic’s developer tool that allows you to build slices, or reusable website sections, as components in your code. You can create, preview, and test slices locally without affecting your live environment. Then, you can ship the slices directly to marketers in a custom page builder so they can start using them as building blocks to create on-brand, customizable pages independently.
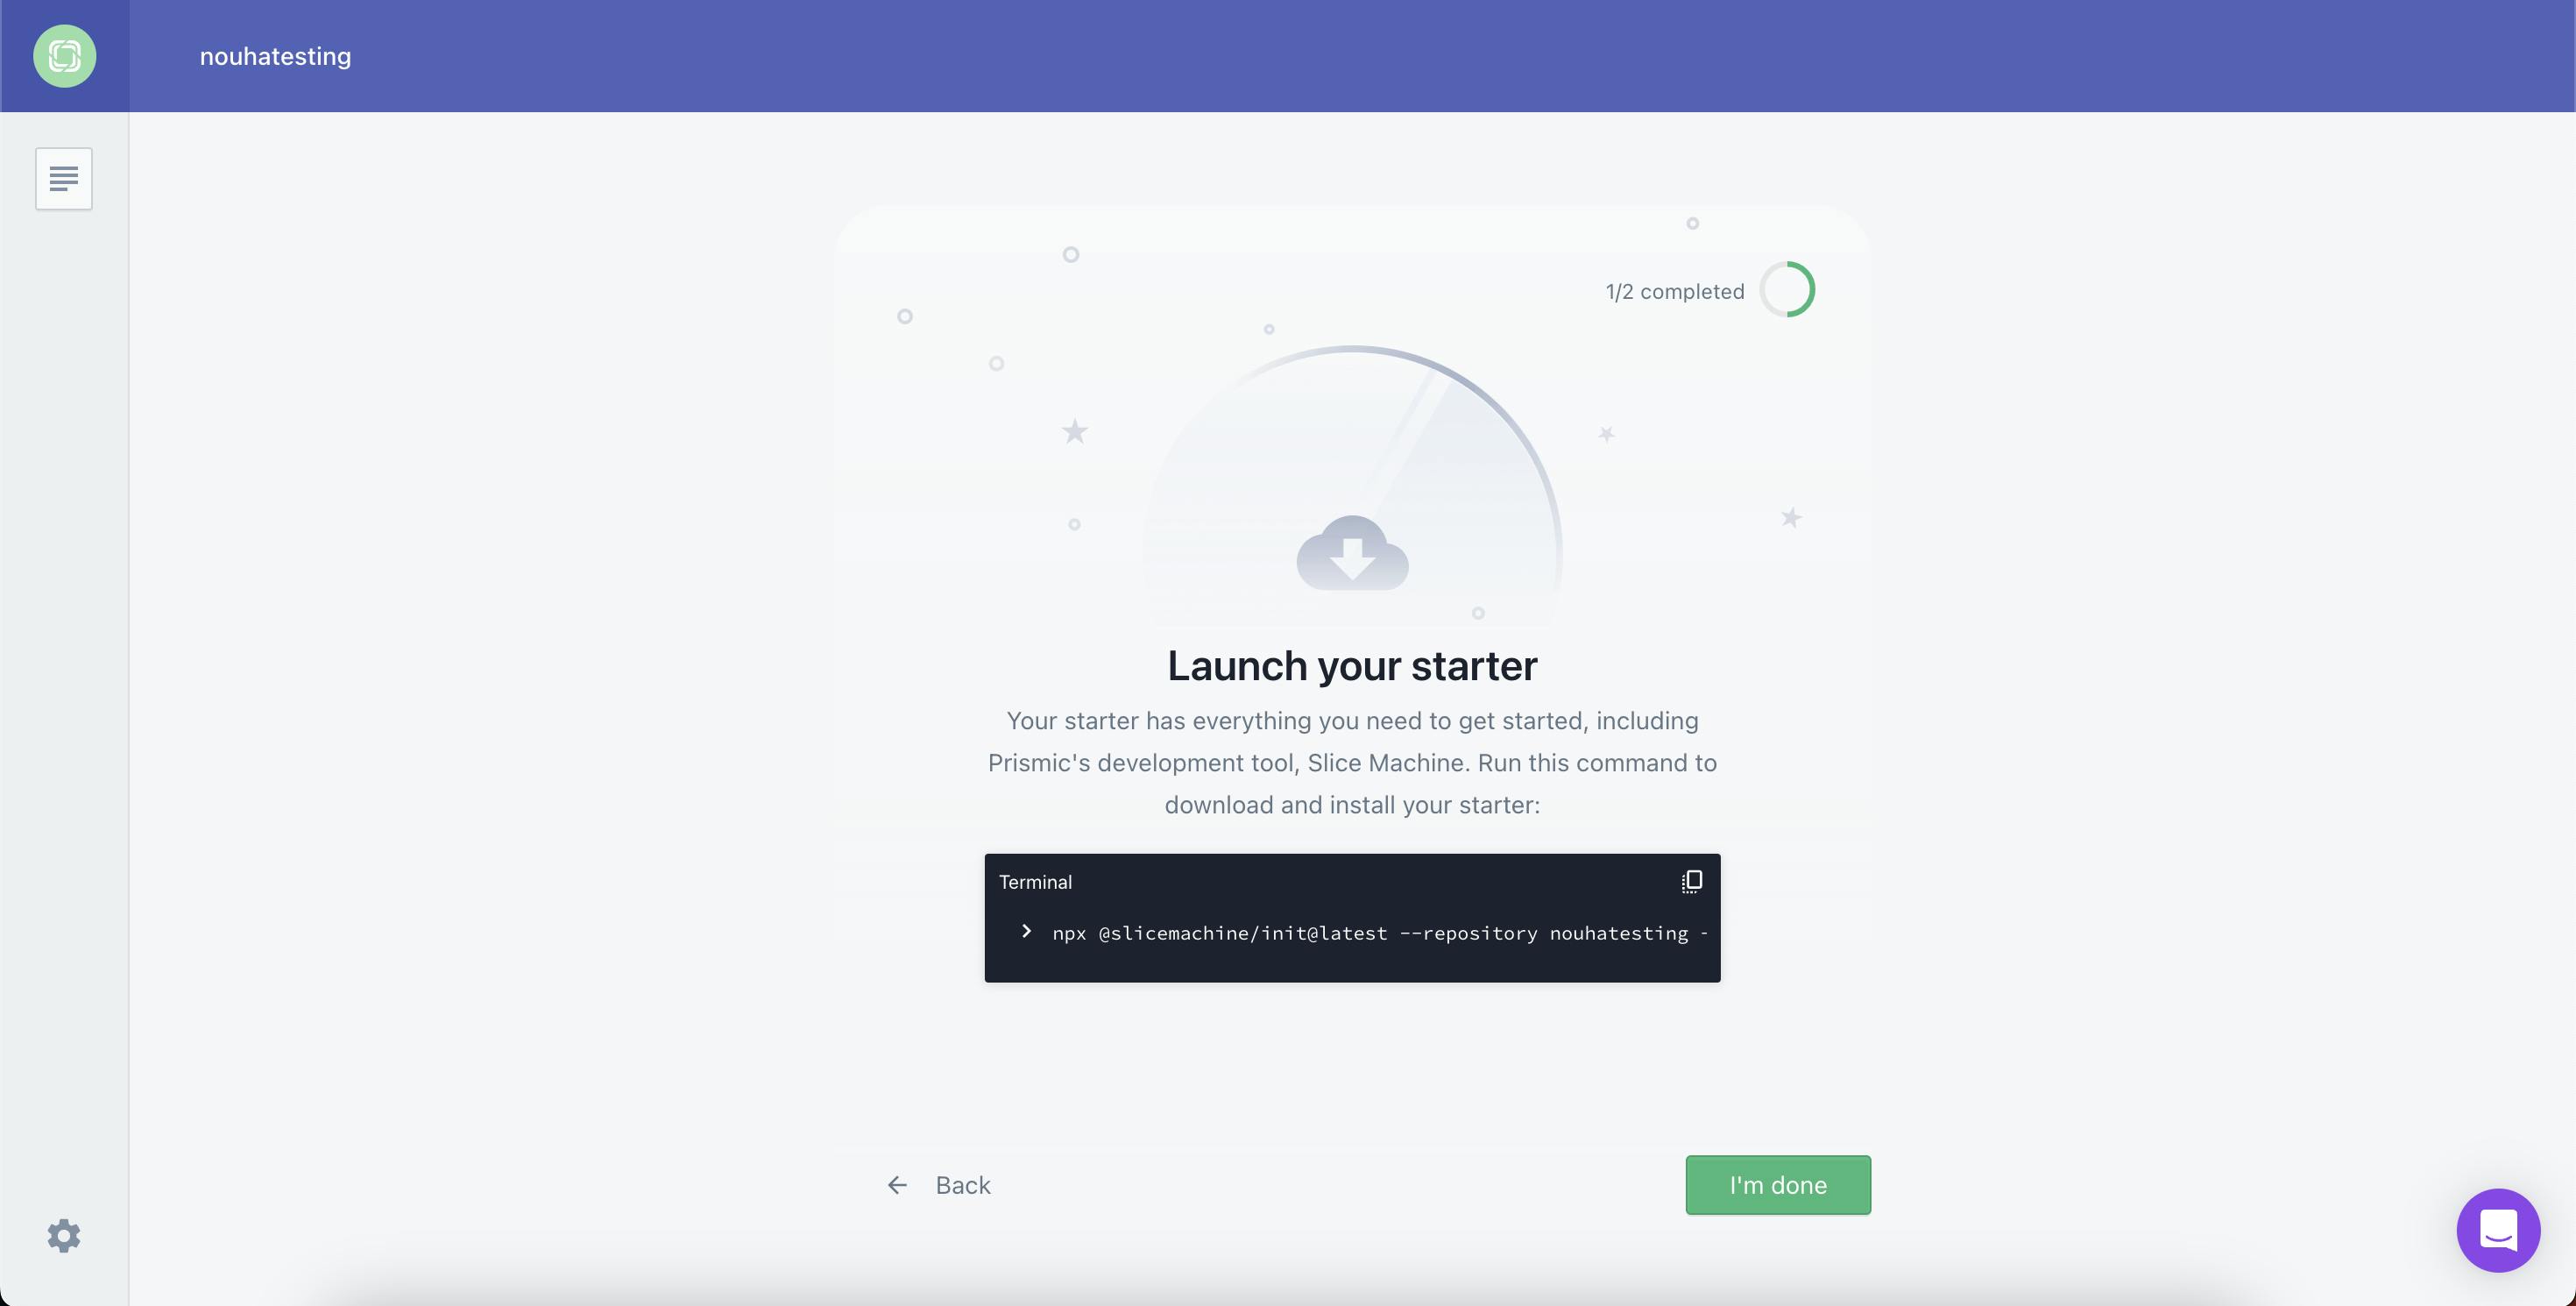
We can launch our project by following step 1 (Launch your starter)in the Prismic dashboard. When you’ve completed this step, click I’m done.
Next, follow step 2 (Run your project) in the Prismic dashboard. When you’re done running these commands in your terminal, you can mark this step as completed by clicking the button.

We’ll walk through steps 3 (Edit a page) and 4 (Create a slice or Page Type) together, so don’t worry about going through these now.
Once you have completed steps 1 and 2, open the project in your code editor.
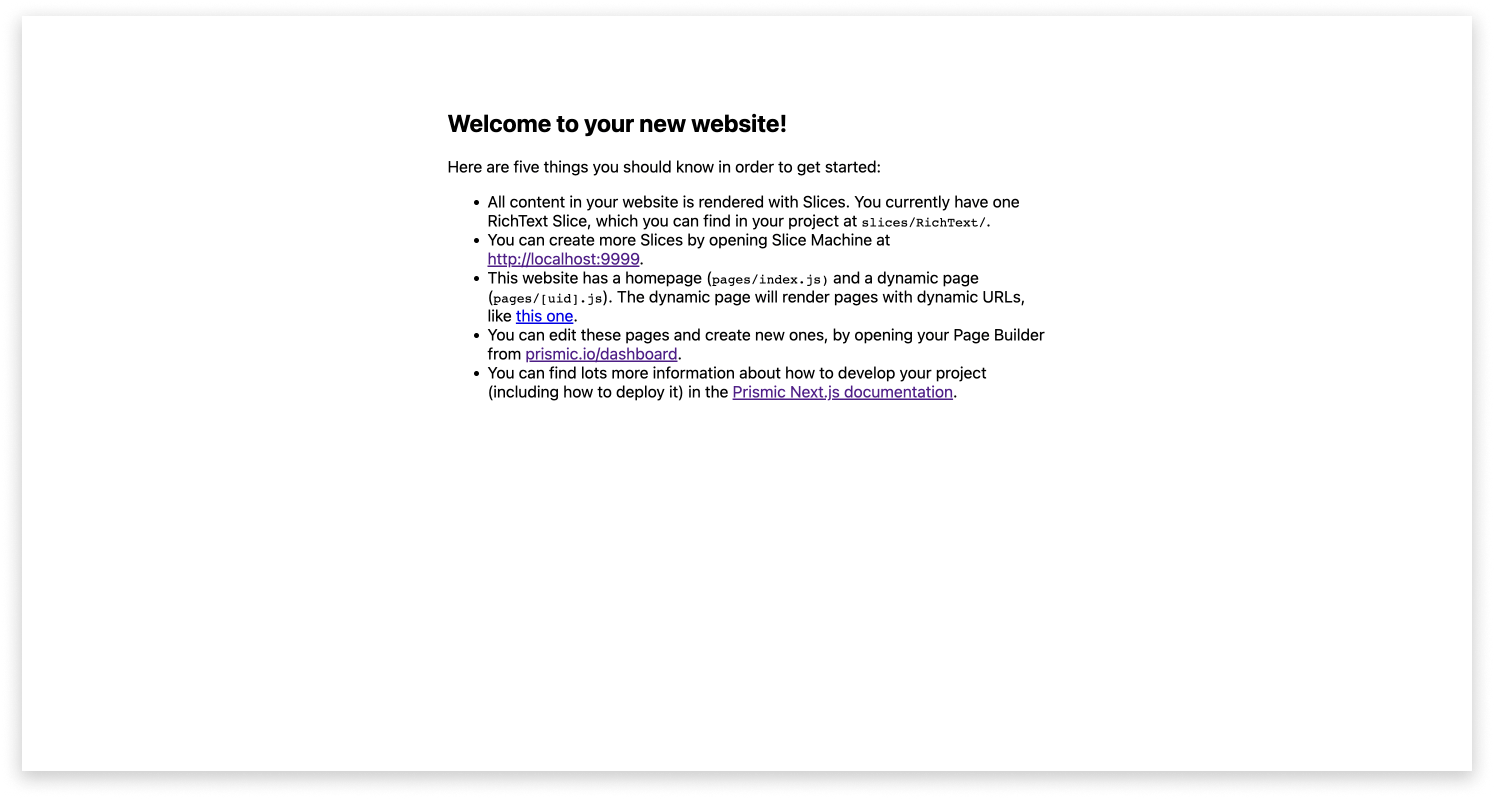
In your browser, you should be able to view the front end of your site locally at http://localhost:3000/.
Let’s recap our setup
For the remainder of the tutorial, we will be navigating 3 separate tabs:
1. Slice Machine - Prismic’s developer tool running on http://localhost:9999/
2. Page Builder - Where we will build and publish pages. You can access it by going to https://prismic.io/dashboard and clicking on your repository.
3. Front End - where we can view the front end of our website locally, running on http://localhost:3000/
Add slice templates to our page type
Let’s go back to Slice Machine at http://localhost:9999/.
Since we used a minimal starter for our project, you can see that a page type called ‘Page’ has already been created. Click on this page type.
You will see in our existing page type, we have a single RichText slice that has already been created. Let’s add some additional slices by clicking Add slices > Use template. Select all available slices and click Add.
Slice templates
Slice templates are pre-made slices with built-in styling. They are meant to help you get up and running with slices and help you test Prismic quickly. For your own projects, you can create your own slices, or reusable website sections, as components in your code.
Now that we have added these slices to our page type let’s quickly look at our code. You will see inside the /src/slices directory that our new slices have been added.
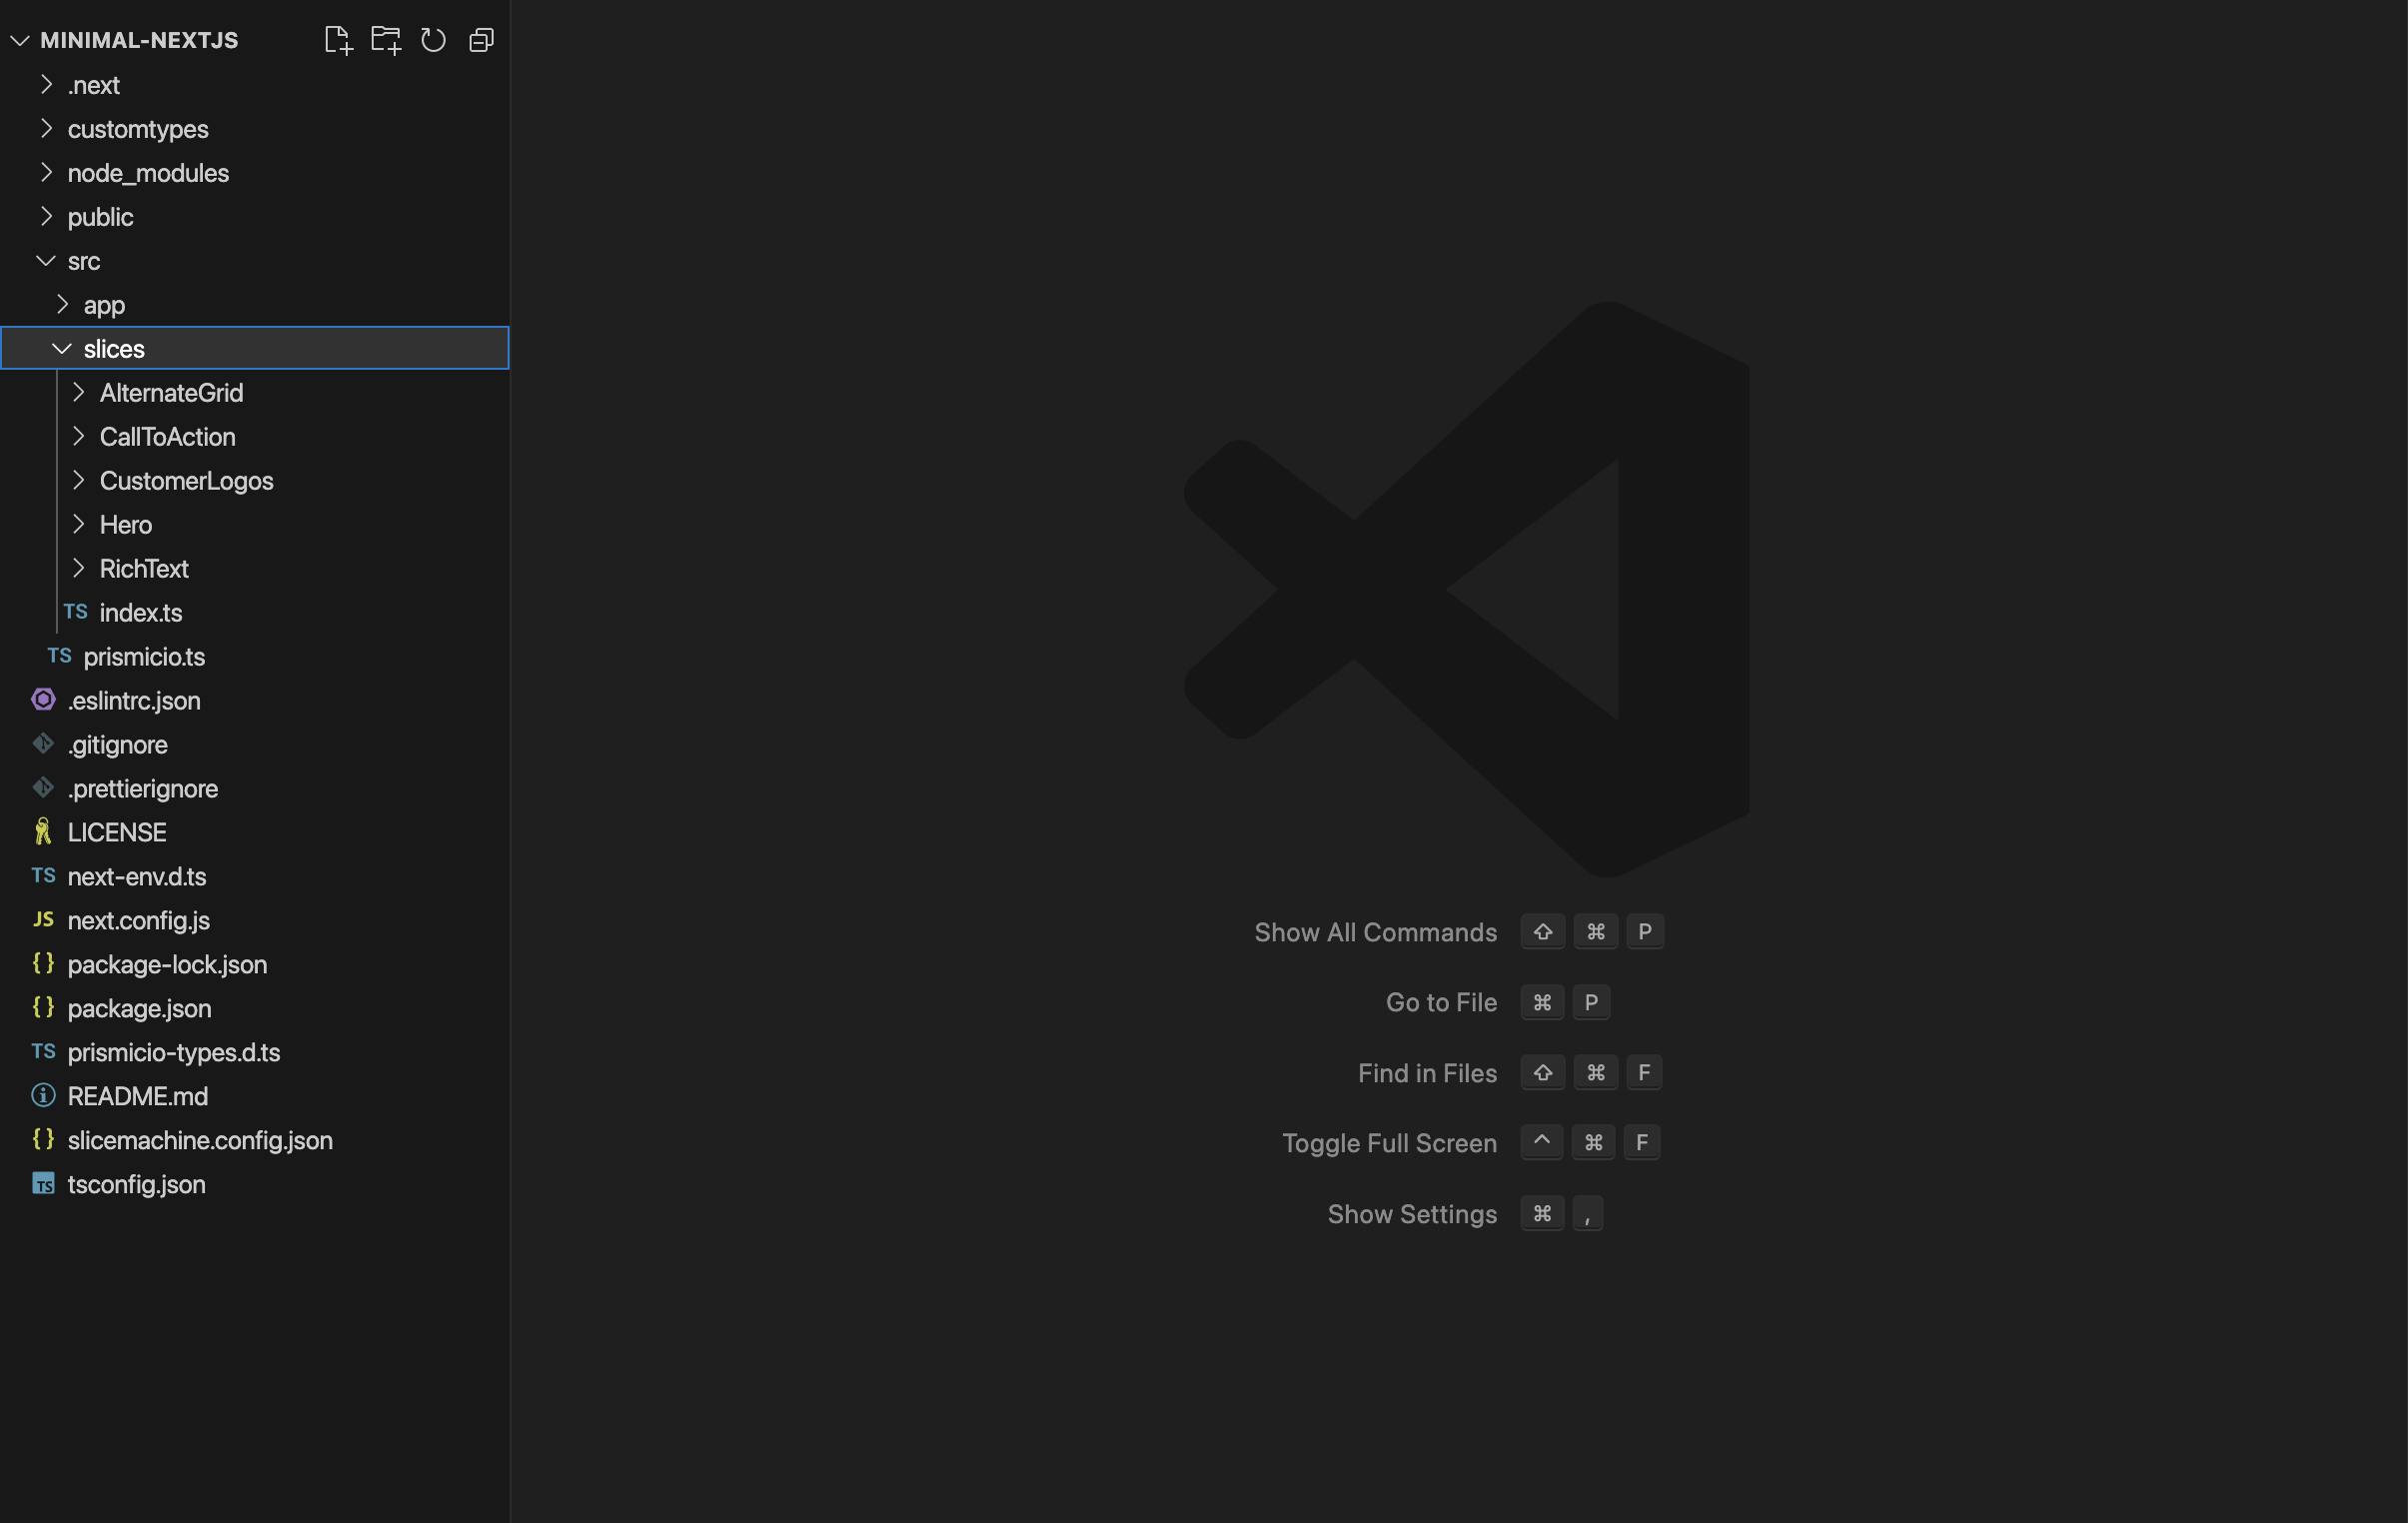
If we want to edit any of these slices, we can do so in the index.js file of the specific slice we want to update. Since we chose to use pre-styled slice templates, we won’t make any changes for now.
Push slices to the Page Builder
Now that we have added slices to our page type, we can quickly push them to the Page Builder so our content team can use them to build pages.
In Slice Machine, click on Changes from the menu on the left, and in the upper right, click Push Changes.
And voilà! Our changes are pushed. 🌟
Create a page and configure our live preview
Let’s go back to our Prismic repository. You can navigate directly to your repositories documents by going to your-repo-name.prismic.io/documents. For example, if I named my repo nextjs-tutorial I could go to nextjs-tutorial.prismic.io/documents.
You will see there are two documents that have already been created called ‘Homepage’ and ‘Another Page.’ You can view these on the front end by going to http://localhost:3000/ and http://localhost:3000/another-page, respectively.
Click on Create a document and give your page a UID (this is the relative URL you will visit in your browser to view the page). Let’s call it test-page.
In the upper right, you can click on the 3 dots and then select Live preview settings. Input http://localhost:3000/slice-simulator and then click Save.
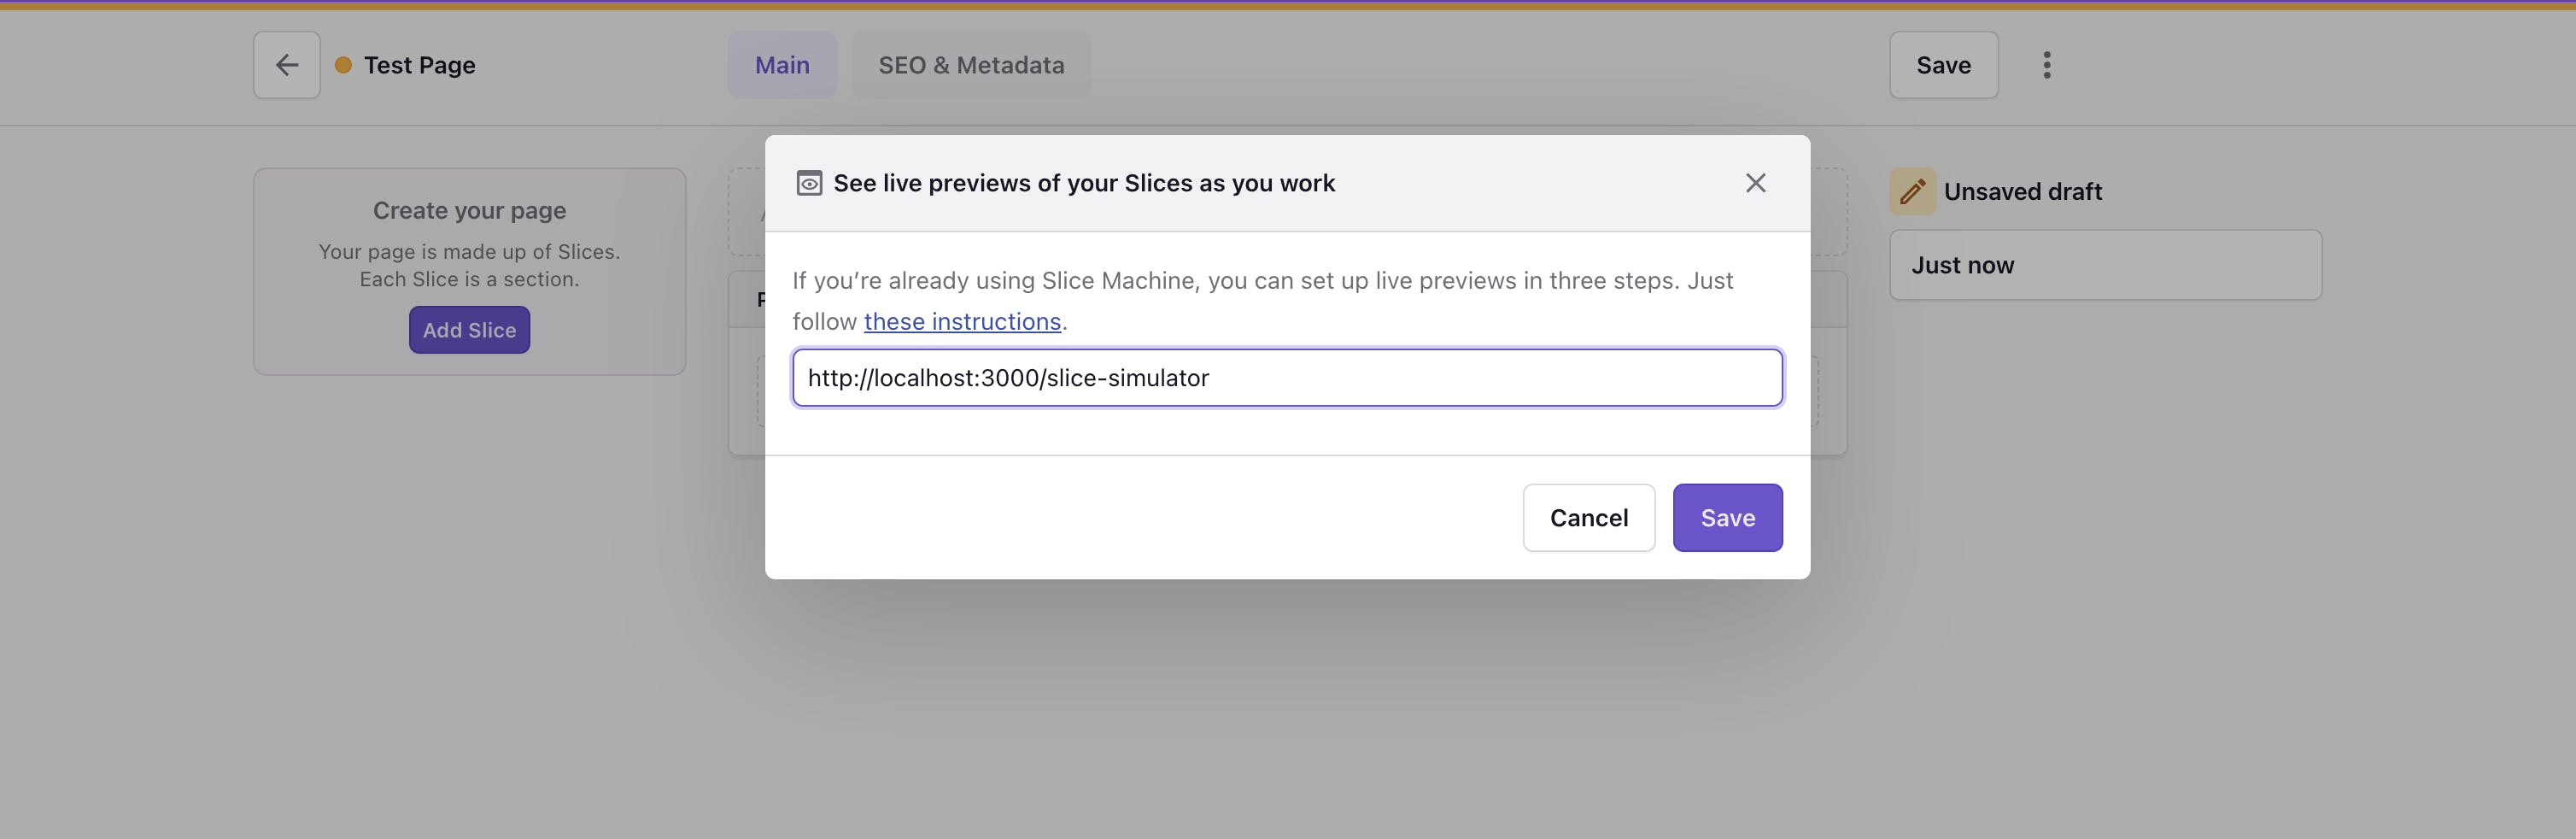
This will make it so we can preview live updates in the Page Builder as we type in the following step. Now, let’s add some content! 📝
Want to try out the new Page Builder?
The Page Builder allows you to drag and drop page sections to build website pages as easily as a slide deck. If you would like a guided tour that walks you through all of the features step-by-step, give the demo a try for yourself!
Add slices and content
To add a slice to our page, we can simply click Add Slice and then select a slice to add.
You will notice that as you type or add images, you can preview the slice in the thumbnail on the left.
Now, have some fun! Try adding each of the different slices to your page and fill out the fields in each slice. When you are happy with your page, in the upper right, click Save > Publish.
You can view your page on the front end at http://localhost:3000/test-page.
Create a new page
Back in the Page Builder, you can either create a new page and add multiple slices like in the previous step, or for simplicity, you can click on the three dots in the upper right of your existing document and click Duplicate document.
This time, let’s add a UID called one-more-page.
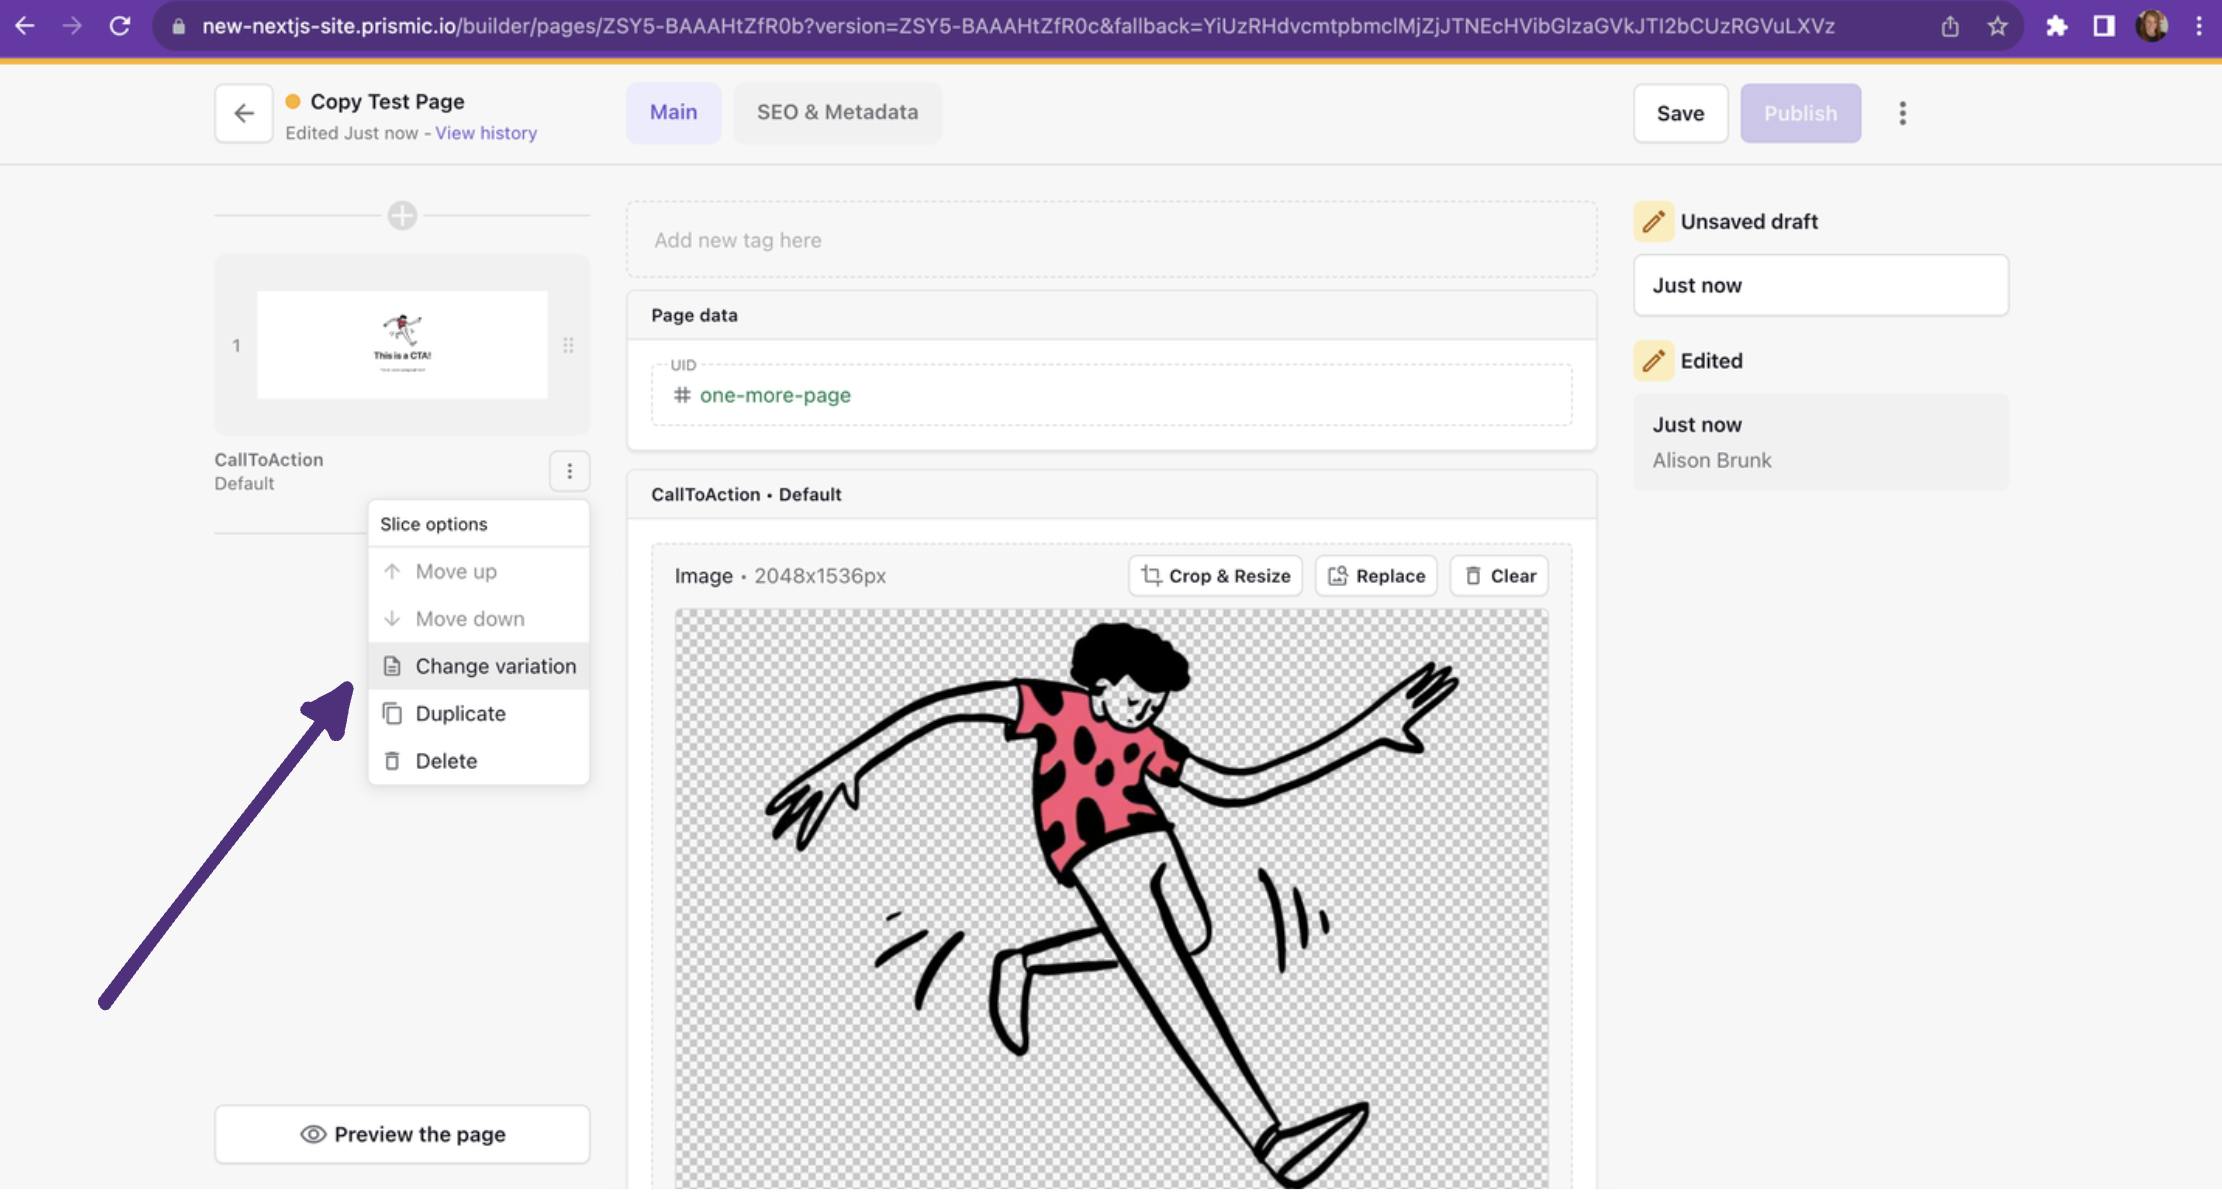
Discover slice variations!
Many of our slice templates had multiple variations, which means there are several styles to choose from for the same slice. Try changing the variation on some slices by clicking the 3 dots on the slice and selecting Change variation (as seen in the image below).
When you’re done, save and publish your new document. Then go to http://localhost:3000/one-more-page on the front end to view your new page!
Wrapping up our Next.js tutorial
That wraps up our quick-start tutorial to building a Next.js site with Prismic. Here’s what we covered:
- Initializing a Next.js + Prismic project
- Creating a page type and adding slices in Slice Machine
- Pushing slices to a custom page builder
- Building pages with slices and content
- Using page snippets to render pages on the front end
With these simple steps, you can start building fully-featured sites with Next.js and Prismic, and hand off a custom page builder to your content team so they can build website pages and iterate independently. Thanks for following along! 🚀


